Jump to
Stay tuned for
more insights
Follow us on
Protecting S3 buckets using IAM and KMS
Although the majority of the S3 attack surface is exposed with API permissions, a powerful part of S3 security is often unused by many organizations. Previously we looked at pentesting AWS S3 buckets, now we’ll be looking at some common ways to encrypt S3 data at rest.
Whether you want extra assurance your data will remain protected in a world of unknowns, or need to meet compliance requirements, the following guide can be used to encrypt the data you send to your S3 buckets.
Note: For the purpose of this guide, we assume that you are generally familiar with Amazon S3 buckets and other Amazon services. If not, refer to the official Amazon S3 documentation as well as our complete guide to AWS Pentesting.
Securing your S3 buckets
This tutorial will cover two specialized Amazon services that can be used to secure your S3 buckets. These services cater to different aspects of the security of your storage, and such should both be implemented.
Controlling access to your S3 bucket with IAM policies
Identity and Access Management, more commonly known as IAM is an ideal way of controlling permissions granted to users, groups, and roles of your network. IAM policies will specify which actions are permissible to each user or group, and for which service(s).
When configuring IAM policies, the concept of least privileges should be followed. This means that only the bare minimum privileges should be awarded to users who are permitted to access a service.
Let’s look at a scenario where there are two S3 buckets and a user who should only be permitted to access one of them.

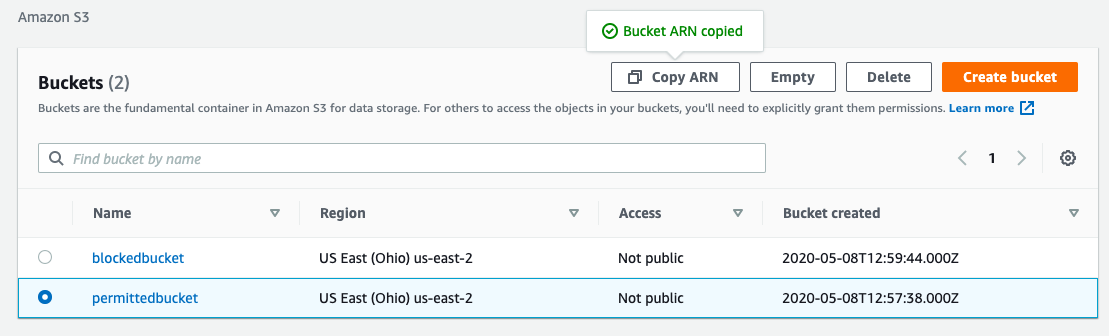
We have created two buckets. The user will have access to the bucket called “permittedbucket”, but not to the bucket named “blockedbucket”.
Let’s copy the Amazon Resource Name (ARN) of the bucket “permittedbucket”. ARNs are used to identify AWS resources uniquely. Each of your S3 buckets has an ARN attached to it and we’ll need that later when configuring security policies.
To find the ARN of your S3 bucket, select the radio button of the relevant bucket and click on “Copy ARN”.
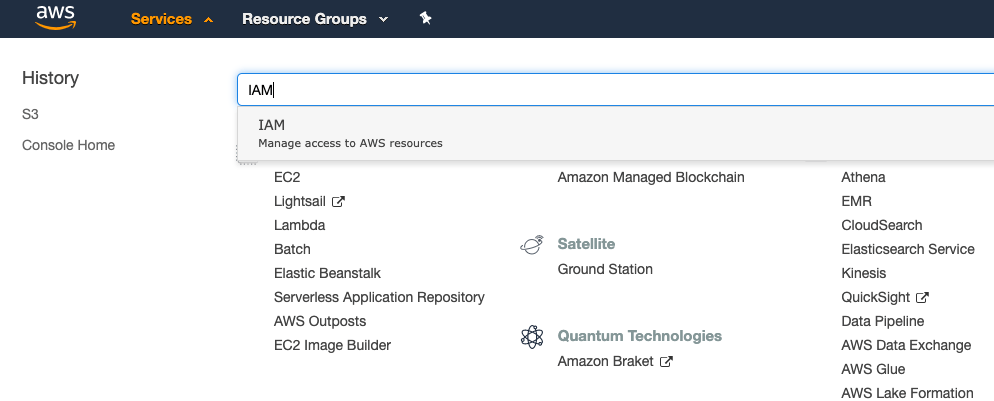
Now let’s continue configuring the default IAM Security Policies. To configure the user, click on Services on the navigation bar, search for IAM, and click on it.
Click on “Users” on the navigation menu, and all the users available in your AWS network will be displayed.
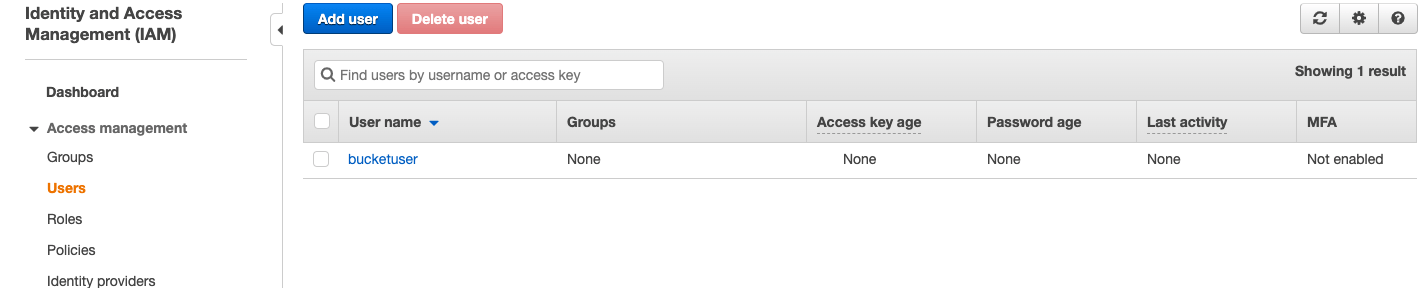
For the purpose of this guide, we have created a user named “bucketuser” who requires access to the “permittedbucket” bucket.
Click on the user record to view the policies that are attached to the account.
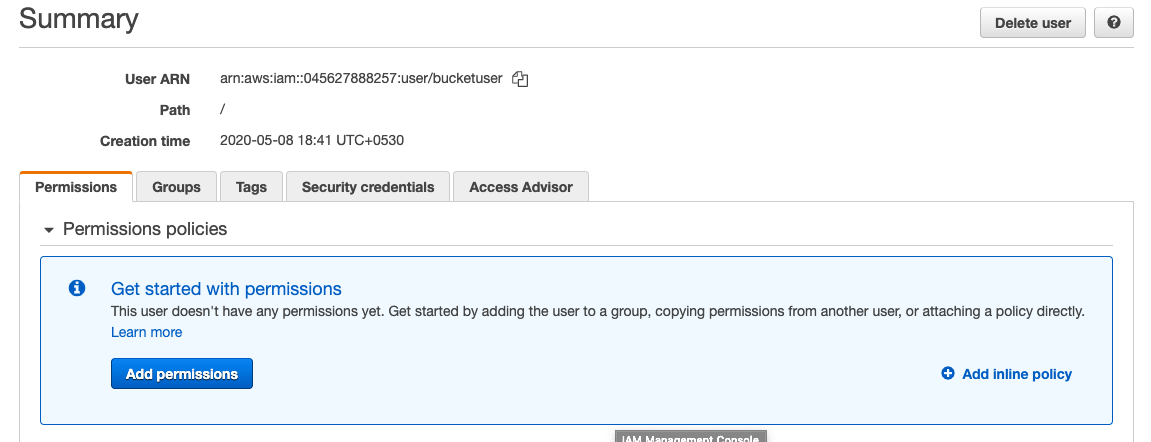
As you can see, no permission policies have been assigned to this user as yet. AWS implements default-deny policies that will deny access to any services unless explicitly allowed.
This simplifies one of the conditions that we wanted to implement: “bucketuser” should not have access to the “blockedbucket” bucket. AWS by default will deny “bucketuser” from accessing any S3 buckets.
Let’s look at some of the AWS predefined policies for S3 buckets to understand what a policy looks like. Click on Policies on the side menu and type “s3” in the Search bar, then hit enter.
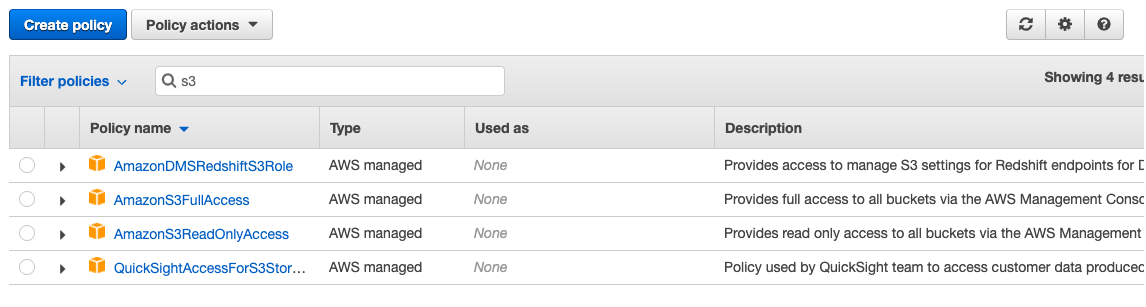
These are predefined policies offered by AWS for S3. What each of the policies does is self-explanatory. For example, let’s look at the “AmazonS3FullAccess” policy to understand what it does. Click on the policy and navigate to the {}JSON tab under Permissions.
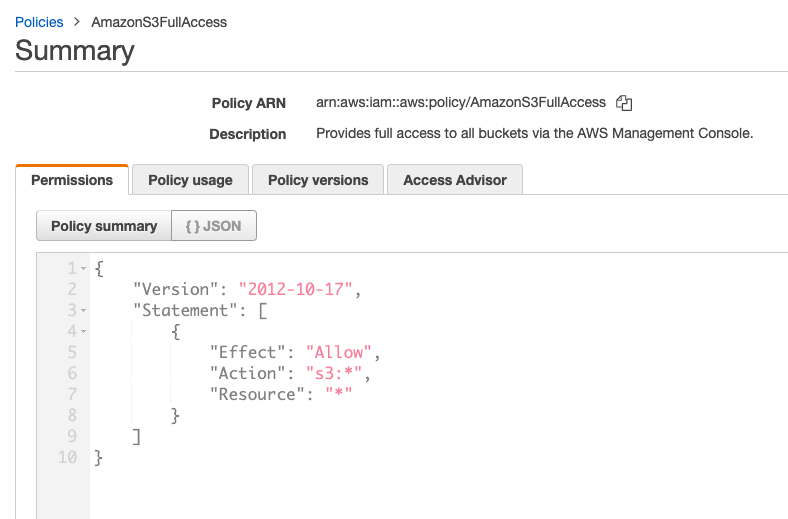
The policy is easy to understand because JSON is quite intuitive. A user, group, or role with this policy attached will be able to perform any action on any of the S3 buckets. Such policies should only be attached to administrators.
Since our requirement is much more specific than this, we will have to define our own policy. This is called creating an Inline policy in IAM. To do so, navigate back to the Users page from the navigation menu. Click on the “bucketuser” user to which this policy will be attached. Let’s allow access to the “permittedbucket” by following these steps:
Click on Add Inline policy.
AWS allows you to write your own JSON code. However, if you are not proficient in JSON, you can use the visual editor visual editor. For the scope of this guide, let’s use the visual editor to create a policy.
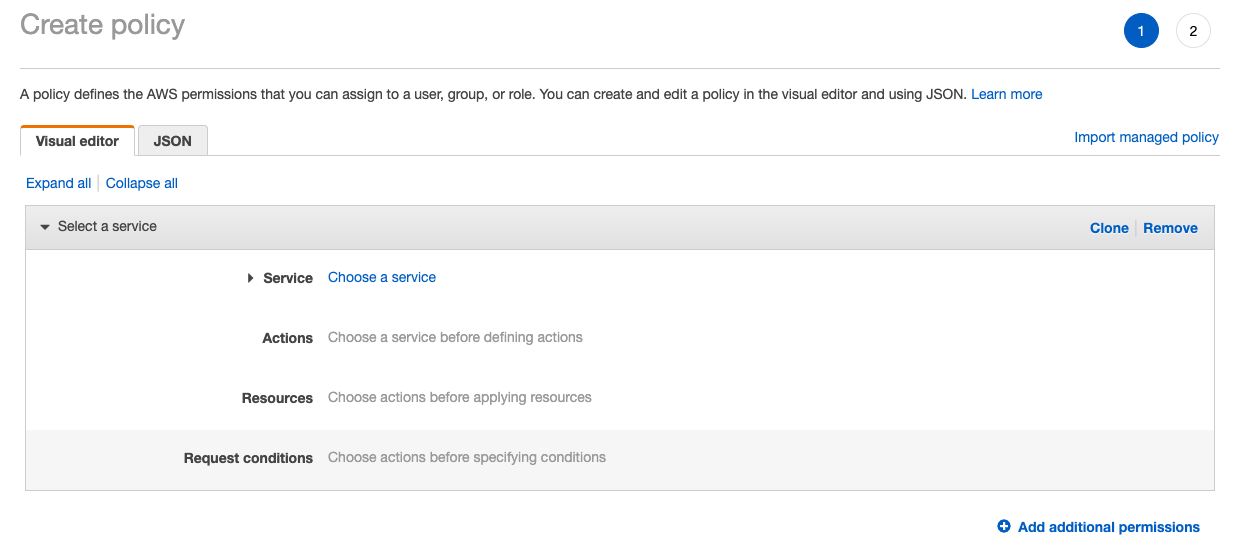
As our requirement is to provide “bucketuser” full access to “permittedbucket”, let’s start building our policy.
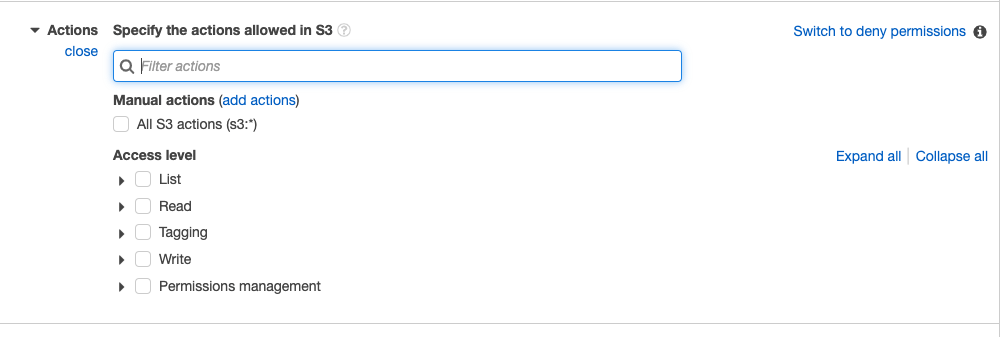
Click on Service and select S3. Then, click on ‘Actions’ and select “All S3 actions”.
It is important to note that the “All S3 actions” option will provide the user with complete control over the bucket. So if the user only requires limited access, make sure to configure it accordingly.
Since we only require “bucketuser” to access a specific bucket, we will define it under Resources. Under Resources, click on “Specific” and select “Add ARN” in the “bucket” option.
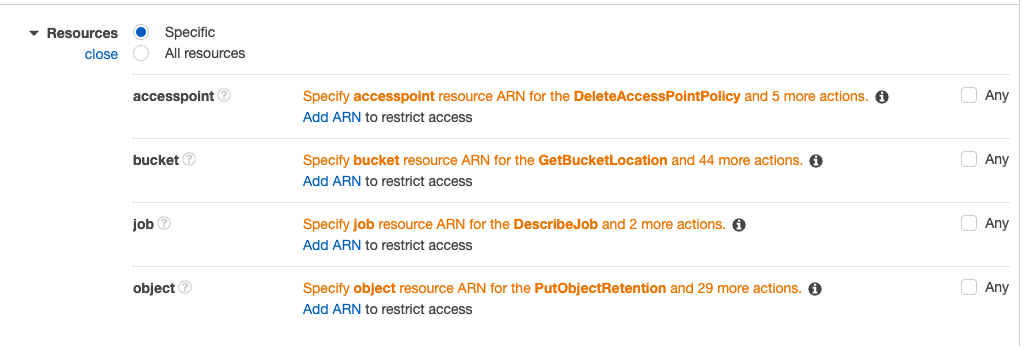
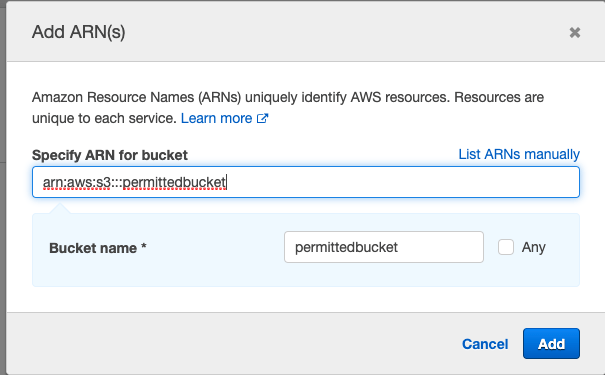
Here, you may add the ARN of the bucket (you copied it earlier) and click “Add”.
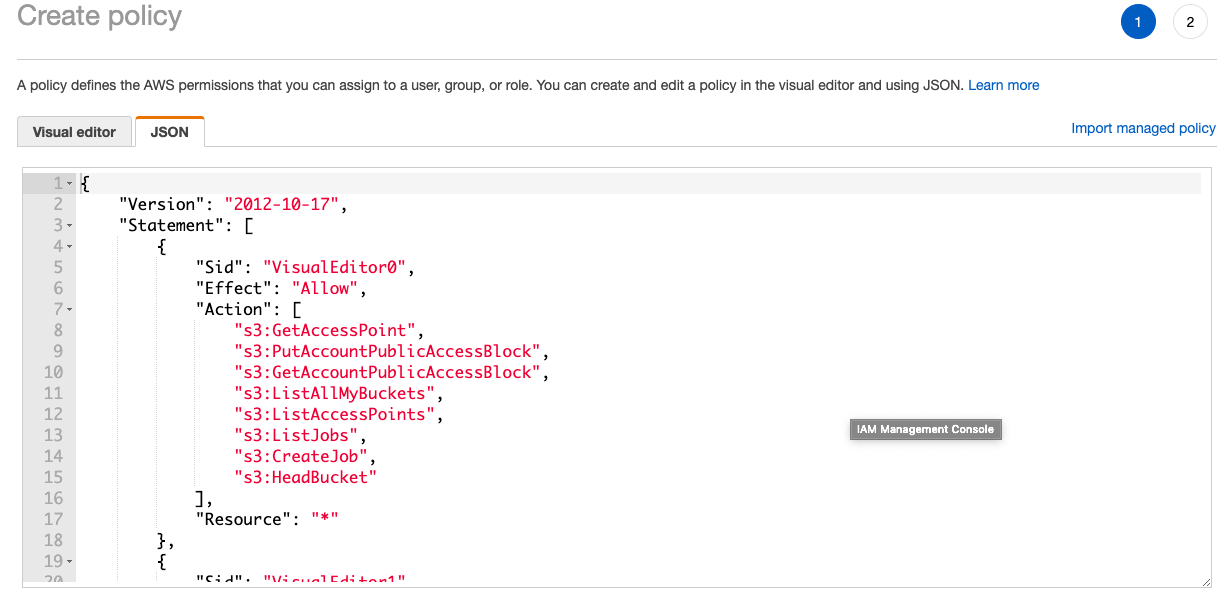
Now that we added the specified bucket, we are done with our policy. Click on the {}JSON tab to see how the policy has been created based on the options you selected.
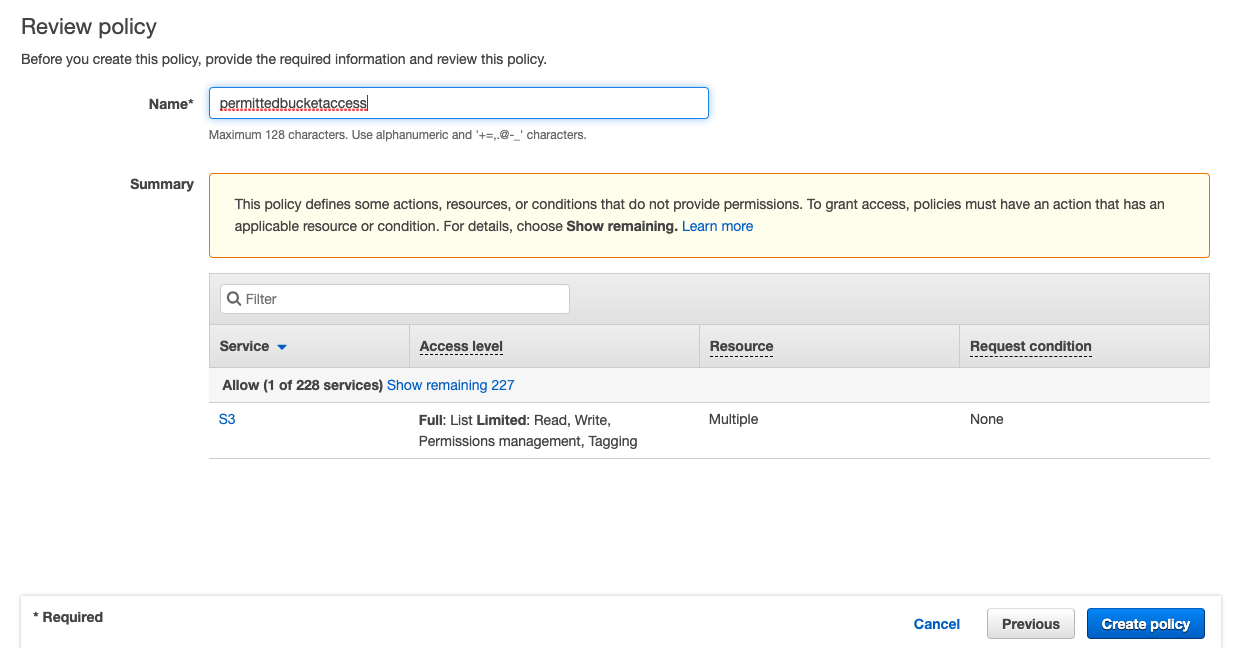
Click on “Review Policy” and on the next page, give it a name and click on “Create policy”.
Now “bucketuser” has full access to the “permittedbucket” bucket and no access to the “blockedbucket”.
Depending on your requirements, the IAM policies that you would have to attach to each user would vary. The basic rule of thumb when creating IAM policies is to give the users the minimum amount of access to fulfill their duties and nothing more.
Encrypting the contents of S3 buckets
The recommended way to encrypt the content in your S3 bucket is by using Amazon Key Management Service (KMS) cryptographic keys. To encrypt the files that you upload to your S3 buckets, let’s create a key in KMS.
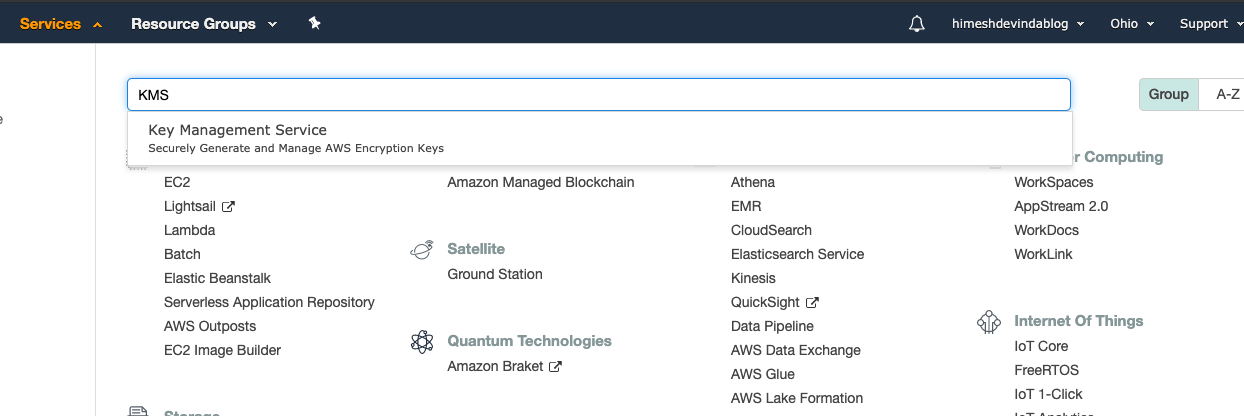
Click on Services and search for KMS; then click on it.
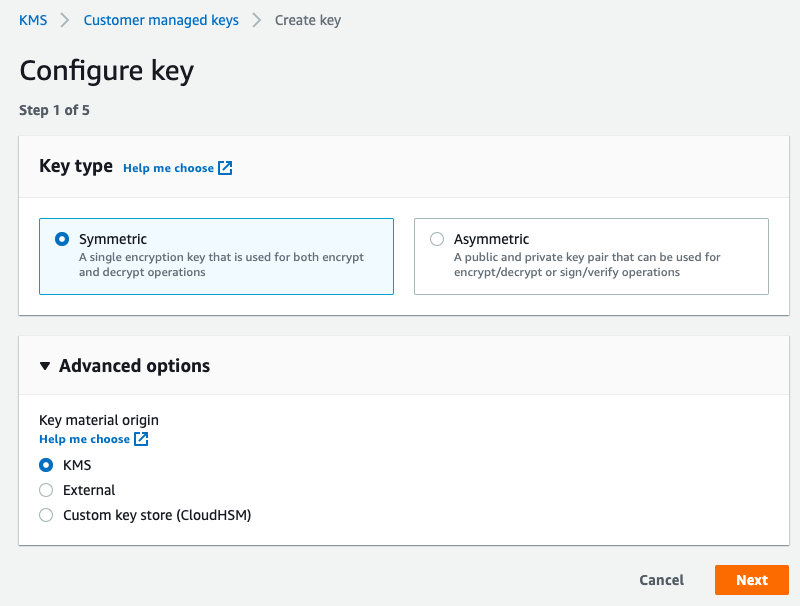
In the KMS console, click on “Create a key”. Now select the Key type as Symmetric. In the Advanced options, select KMS. If you’re wondering what a Symmetric key does, look at the image below:
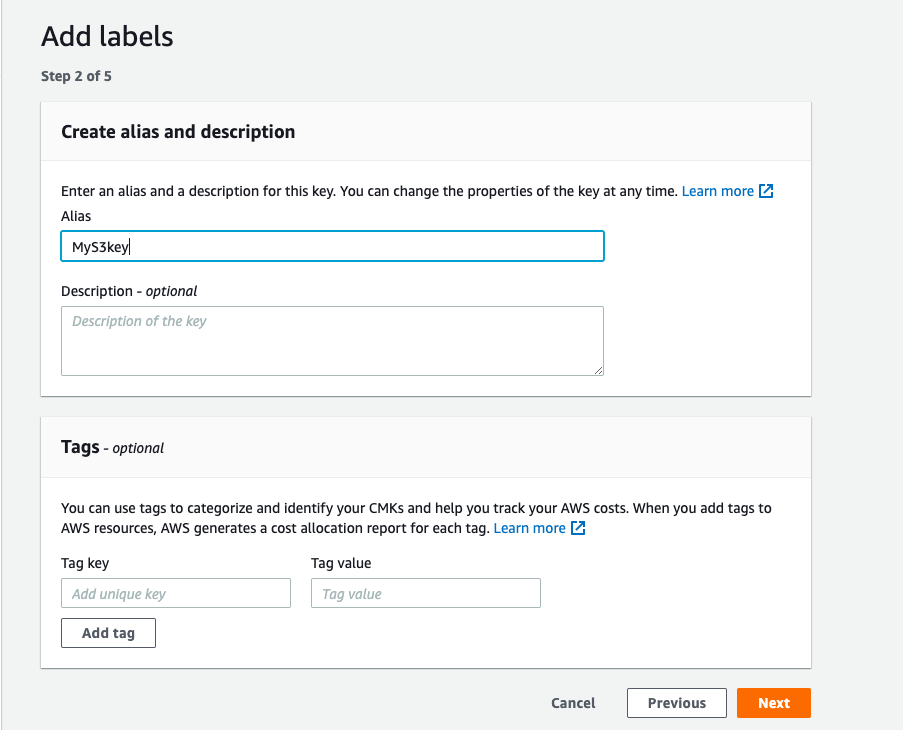
Click on next and create an alias for your password.
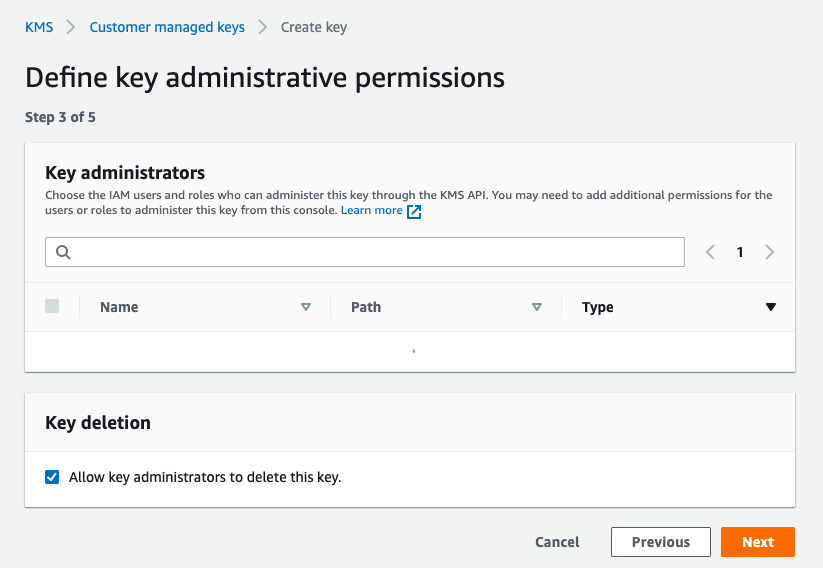
Click on next and select your key administrators. By default, AWS gives the root user full access to CMKs (Customer master keys). If you would like to assign administration to a different user, you can do so in this section.
Click “Next”. The Key Usage Definition page will be displayed.
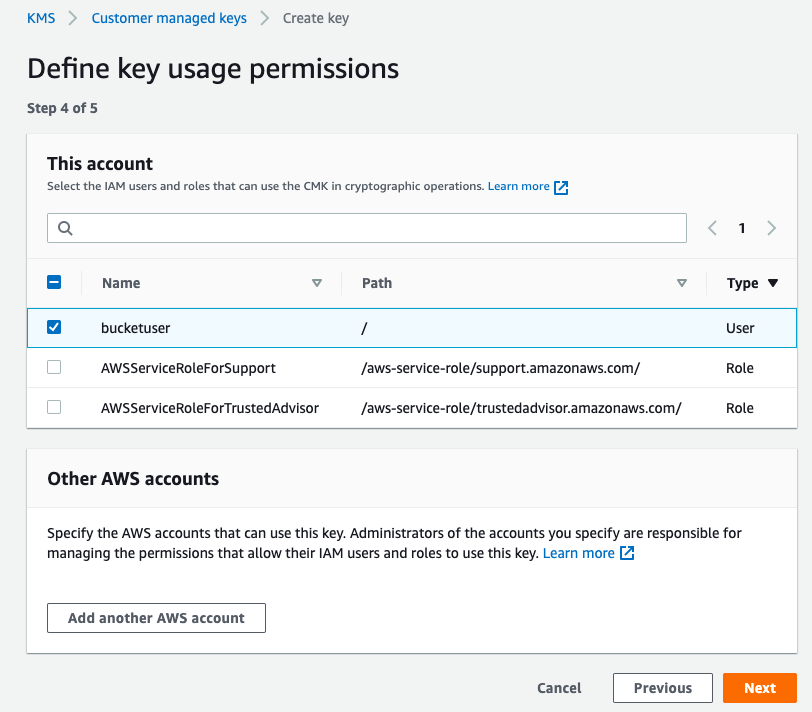
Here you can select which IAM users and roles could use the key to perform cryptographic operations. We need “bucketuser” to have permission to encrypt and decrypt the data of the S3 bucket. Click on Next, and you will see the JSON code that AWS created based on your preferences.
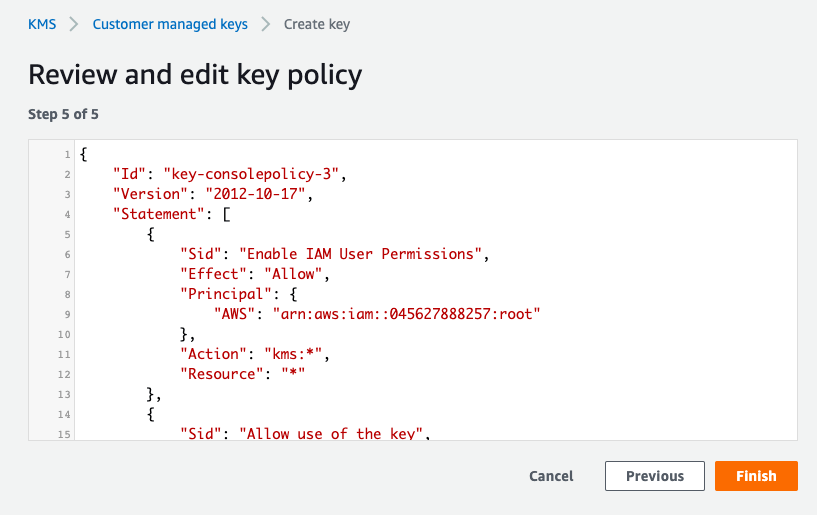
Click on Finish to complete the key generation process.
Now you can use this CMK to encrypt any content that you upload to your S3 bucket. To demonstrate how this works, let’s navigate back to the S3 console.
Select the bucket that you want to upload the file to and click on Upload. Select the file that you would like to upload.

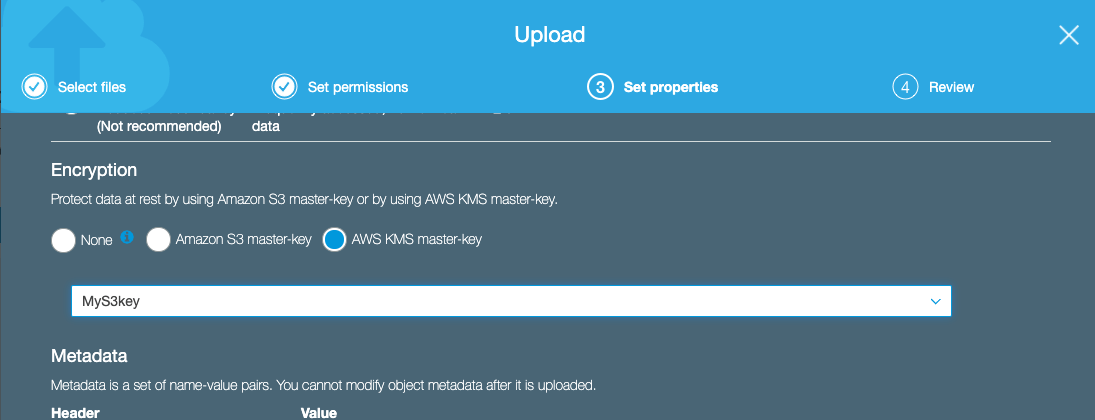
Click on Next and find the Encryption section in the “Set Permissions” section.
As we are using our KMS keys to encrypt data, select AWS KMS master-key, and select the key that you created from the dropdown list.
Now you can upload a file to your bucket to test the encryption process.
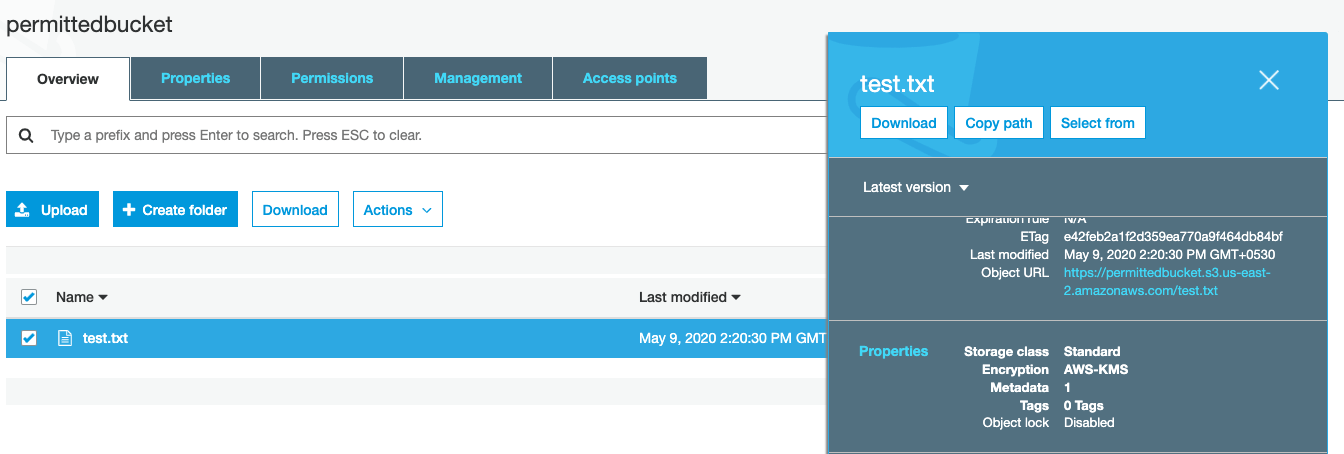
As shown in the above image, the test.txt file is encrypted with AWS-KMS.
Conclusion
We looked at the simplest ways of using a combination of IAM policies and KMS CMKs to secure an S3 bucket. An important tip to remember when performing these steps is to ensure that you give the least possible privileges to your users, and encrypt everything you store.
These general principles will help keep your content and files safe. Refer to Amazon’s security best practices regarding securing S3 buckets to learn more.